This is for demonstration and education purpose don’t expect performance out this setup. If you have compatible hardware i will encourage to perform installation on actual hardware.
You will need Nutanix Customer or Partner Account to download Nutanix CE ISO from Nutanix Community site : Download Community Edition | Nutanix Community
I will be using CE-2020.09.16 for this demonstration. This version of Nutanix CE supports both hypervisor ESXi and AHV. We will be using AHV hypervisor for this setup.
1.0 : Create and Configure Base VM
1.1 : Create VM with Guest OS Family Linux and Guest OS CentOS 7 (64-bit) with below configuration
CPU : 4 CPUs ( 1 Socket x 4 Core)
Memory : 64 GB
Disk 1 : 8 GB <- Hypervisor disk
Disk 2 : 400 GB < — CVM disk ( minimum size required 200GB)
Disk 3 : 600 GB < — Data disk ( minimum size required 200GB)
Network : VMXNet3 ( internet access, will required for cluster activation)
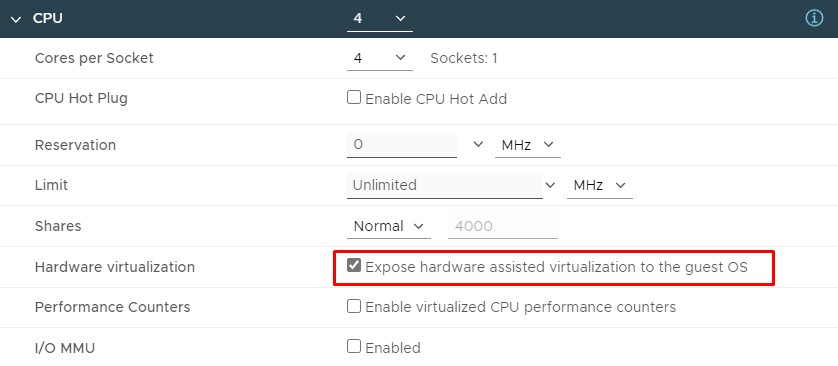
1.2 : Enable Hardware virtualization Expose hardware assisted virtualization to the guest OS
1.3 : Change VM Network or vSwitch setting to Accept for “Promiscuous mode” , “MAC address changes” & “Forged transmits”

This is needed as we are doing Nested virtualization , CVM won’t be reachable if you do not enable these setting. MAC address changes setting can be left Reject but i like to Change all three setting to Accept
1.4 : Mount CE-2020.09.16.ISO and boot VM ( I used Content Library to mount IOS to VM)
1.5 : Power on VM and wait for setup screen
2.0 : Install Nutanix CE AHV and CVM
2.1 : Select AHV Hypervisor with Arrow key and press TAB to go to next section
2.2 : Assign 8GB disk for Hypervisor boot with ‘h’ key , 400GB disk for CVM boot with ‘c’ key and 600GB disk for Data with ‘d’ key use arrow to navigate
2.3 : Provide AHV Host and CVM IP Addresses
2.4 : As we are creating one node cluster select Create single-node cluster
2.5 : Provide DNS server details and hit enter on Next Page
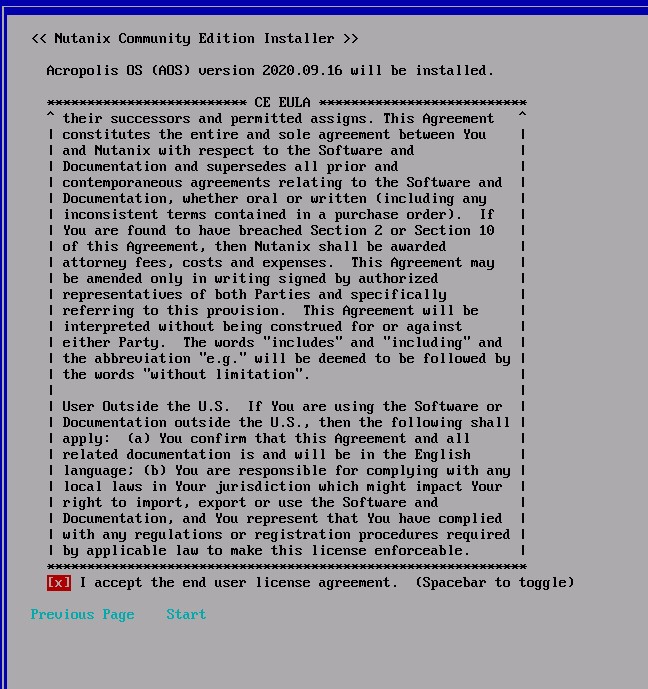
2.6 : on CE EULA Page , scroll to end and Click on I accept the EULA and hit Enter on Start
2.7 : wait for Hypervisor and SVM/CVM to deploy
2.8 : Disconnect ISO & Reboot VM once imaging is completed, and you will be presented with Nutanix AHV Login screen
3.0 : Nutanix CE Activation
Default credentials to login to AHV OS
user name: root
password: nutanix/4u
Default credentials to login to CVM OS
user name: nutanix
password: nutanix/4u
3.1 : You should be able to ssh to cvm and validate services now, it will take some time depending up on VM resources for cluster to start in my case it took 10 mins to start cluster
Commands used for services and cluster validation
genesis status (alias gs)
cluster status (alias cs)
3.2 : Once cluster is online , you can hit https://<cvm ip>:9440
Default credentials to login to PRISM
user name: admin
password: nutanix/4u

3.3 : Once you login prism, default password needs to be change 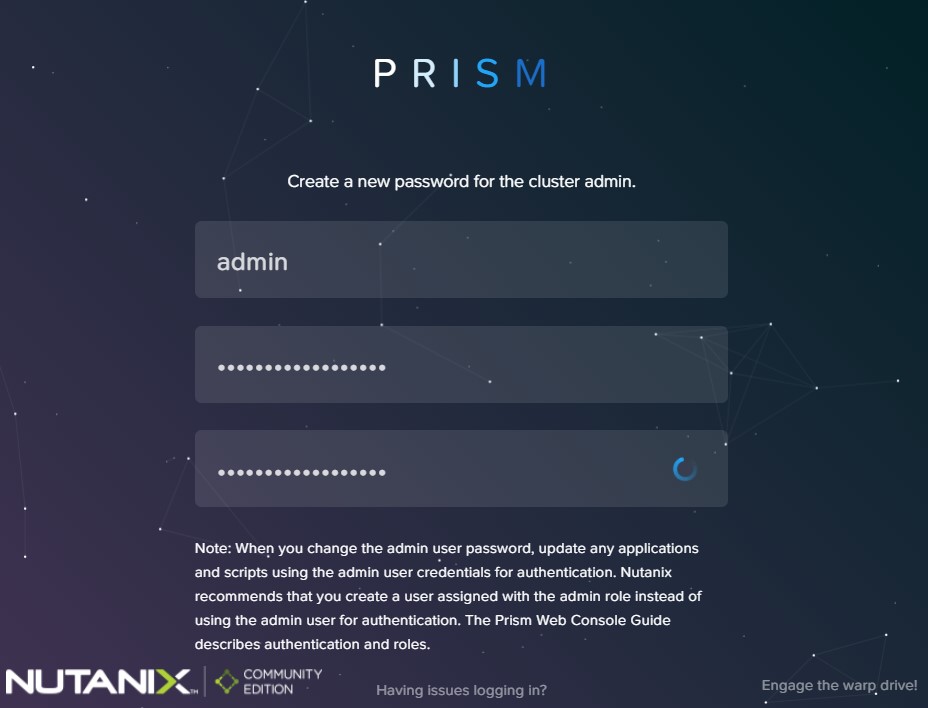
3.4 : As part of cluster activation you will need to login with NEXT Account ( same account used for downloading CE ISO)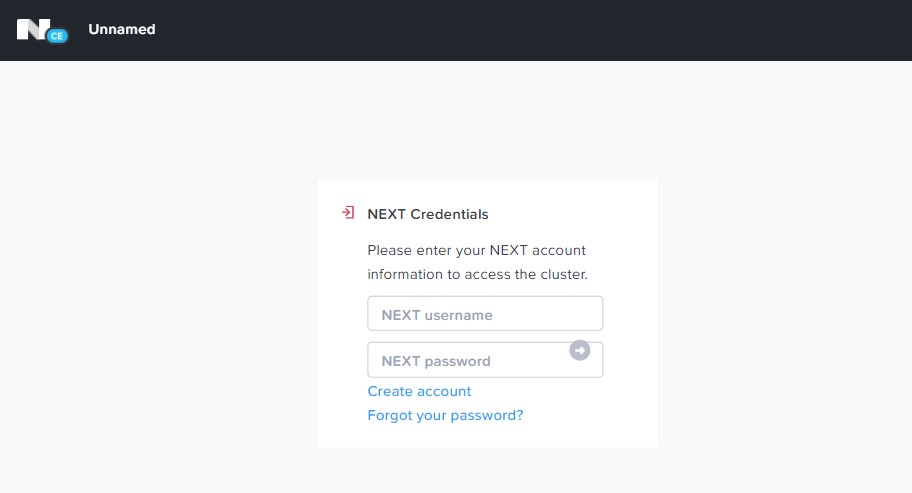
3.5 : Once login you will be presented with PRIMS HTML5 UI
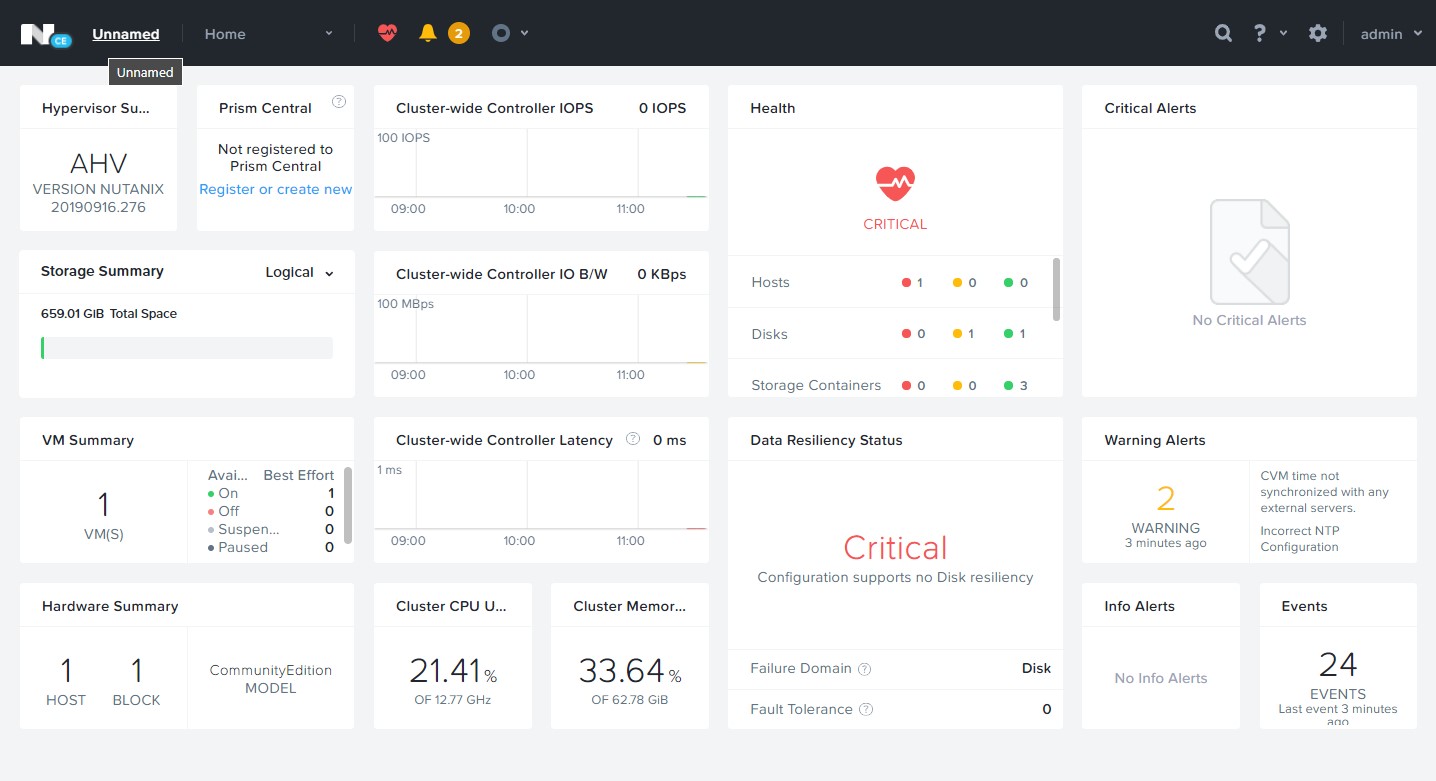
This is it for now , I hope to post more content.

Short and sweet. thanks!
LikeLiked by 1 person
When attempting this install I am getting Error host network information and URL to ESXi ISO must be given for ESXi hypervisor installation.
Any idea as of why? I am attempting on ESXi 8 and CE 2.0.
FYI
LikeLike